
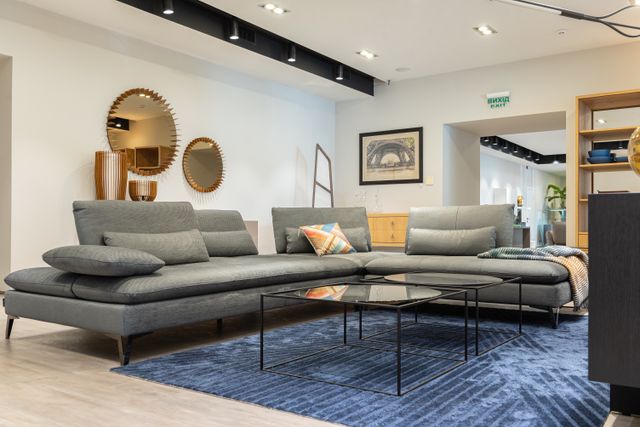
A picture wall in the living room is a group of framed photographs, prints or artworks arranged on one wall so they read as a single display. It works best when planned first: choose the right wall, pick a layout that suits the space, keep the gaps between frames even, and hang the centre of the whole group at roughly eye level. Done well, a gallery wall turns a blank wall into the most personal feature in the room, for far less than new furniture.
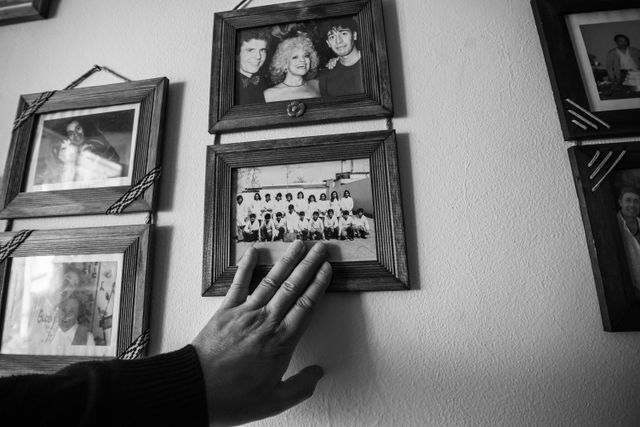
Why A Picture Wall Suits The Living Room
The living room is the room guests see first, so it deserves a display with personality. A single large print can look striking, but a picture wall tells a story: family photographs, holiday prints and favourite artworks side by side, with room to grow. Picture walls are also practical. They fill a large blank wall cheaply, work in rented homes with damage-free fixings, and suit awkward spaces — beside a fireplace, next to a door, or above a sofa — that are hard to furnish any other way.
Choosing The Right Wall For Your Picture Wall
The best choice is usually the wall you look at when you sit down. The wall above the sofa is the classic spot, as the furniture anchors the display, and the wall opposite the main seating works well too. Avoid strong direct sunlight, which fades prints, and leave clear space around the edges so the arrangement can breathe.
Measure the wall before you buy anything, noting light switches, radiators and skirting boards. Above a sofa or sideboard, aim for an arrangement about two-thirds the width of the furniture beneath it. A sofa or console below gives the display a visual base; above an empty stretch of floor, it can look untethered.
more ways to style the room around your display
Picture Wall Layouts That Work In A Living Room
The layout is what separates a considered gallery wall from a random cluster of frames. These five approaches cover most living rooms.
The Classic Grid
The grid is the tidiest option: identical frames in equal rows and columns, with the same gap between every frame. Six or eight matching frames in two rows above a sofa look calm and deliberate, and suit modern and minimalist rooms. It works best with photographs in the same style — all black and white, for example — as the uniform frames let the images do the talking.
The Salon Style Cluster
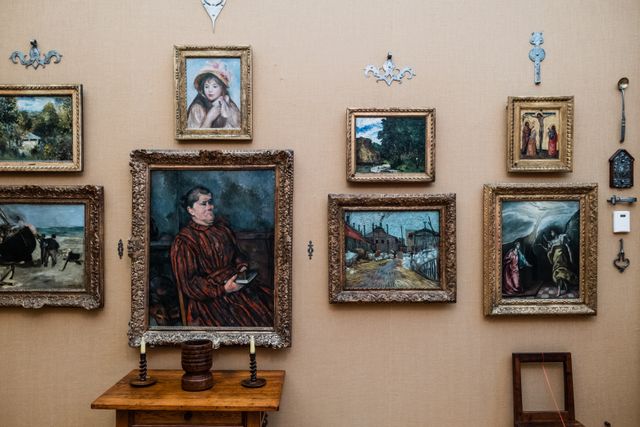
Salon style is the relaxed look of traditional art galleries: frames of different sizes and finishes in a loose cluster, often spreading from near the skirting board towards the ceiling. Start with your largest piece slightly off centre, then build outwards with smaller frames, keeping the gaps even. Keep one element consistent — frame colour, mount colour or subject — so the variety feels curated, not chaotic.
The Ledge Or Shelf Display
Picture ledges are narrow shelves that let frames lean against the wall instead of hanging from it. Two or three ledges above a sofa create a layered display you can restyle in minutes, with no new holes each time you change a picture. Overlap frames slightly, vary their heights, and tuck a small plant or book in among them. Ledges suit renters and smaller rooms.
The Linear Row
A single straight row of frames at the same height suits long, low walls and the space above a sideboard. Three to five similar-sized frames create a calm horizontal line that can make a room feel wider. Align the frames along their centres rather than their tops, so portrait and landscape frames still read as one neat band.
Around The Television Or Fireplace
Frames arranged around a television help it blend into the room instead of standing out as a black rectangle, while a loose cluster above a mantelpiece draws the eye upwards. Keep the frames further from the screen than from each other — the television is not part of the gallery — and avoid hanging anything where it will catch heat from a fire or block a vent.
Choosing Frames And Pictures That Work Together
A picture wall looks intentional when its pieces share something: the frame finish, the mount colour, the subject, or a colour palette from the room. Matching frames give a busy collection a calm finish; mixing finishes — black metal with pale wood, for example — feels more collected, but stick to two finishes and repeat each one.
Vary the scale too: one larger anchor piece, a few medium frames and several smaller ones. Plan using the outside measurements of the frames, not the print sizes, since a wide frame or deep mount changes how much wall each piece covers. Mix photographs with art prints, and leave room for a map or postcard. If your images differ wildly in colour, black and white photographs are a safe way to unify them.
colours that work with your picture wall palette
How To Plan Your Picture Wall Layout
Lay your framed pictures on the floor inside a space marked out with masking tape to the size of your wall area. Move the pieces until the arrangement feels balanced, with the largest frame in the middle or slightly off centre. Photograph each version; imbalance is much easier to spot in a photograph than on the floor.
Once you are happy, trace each frame onto paper, cut out the shapes and tape them to the wall, labelling each one. Step back and look from the doorway and your usual seat, and live with it for a day if you can. Moving paper is free; moving fixings is not. Aim for a rough rectangle or square outline, with no single frame sticking out far beyond the rest.
How High To Hang Picture Walls In A Living Room
Height is where most picture walls go wrong. Museums and galleries hang artwork so the centre of the piece sits about 57 inches — roughly 145 centimetres — from the floor, around average eye level. For a picture wall, apply the same rule to the centre of the whole arrangement, not to each frame. Mark a faint pencil line at that height and build around it.
Above furniture, the rule changes. Leave about 15 to 25 centimetres between the top of the sofa back and the bottom of the lowest frame: any higher and the display looks disconnected; any lower and someone sitting down may knock it. Keep gaps of about 5 to 8 centimetres between frames, and keep the same gap throughout, so different frames read as one display. A practical guide to measuring and marking picture positions is available from Bunnings, which also explains how to match the hook to the frame’s weight and the wall type.
How To Hang Your Picture Wall Step By Step
- Gather your tools. You need a tape measure, pencil, spirit level, drill or hammer, and fixings suited to your wall type. Weigh each framed picture, including its glass, so you can choose fixings rated for the weight.
- Check the wall. Before drilling, check for concealed pipes and cables near radiators, switches and sockets. Use hollow-wall fixings on plasterboard, and masonry plugs on solid brick or block.
- Mark the hanging points. Measure the distance from the top of each frame to its hanging point and transfer it to the matching paper template. Hanging points vary even between same-sized frames, so measure each one.
- Hang the anchor piece first. Start with your largest or most central frame, level it, then work outwards one frame at a time, checking the gaps as you go.
- Step back often. Check the arrangement from the doorway and your usual seat after every few frames.
For more ideas, Athena Art has a UK-focused guide to building a gallery wall, including paper templates and hanging without nails.
Picture Walls For Renters And Damage-Free Hanging
Renters can still have a picture wall. Adhesive picture-hanging strips hold light to medium frames on smooth, clean walls and remove without leaving holes, provided you follow the instructions on weight limit, maximum frame size and waiting time. Clean the wall first and press the strips firmly, and check the guidance for wallpaper, freshly painted walls and textured surfaces, as strips suit some walls and not others. Picture ledges are another option, although fixing the ledge itself still needs screws, so check your tenancy agreement first.
Styling, Colour And Lighting
Pick up one or two colours from the pictures for your cushions, rug or curtains, so the wall connects with the rest of the room. Dark frames stand out best against a lighter wall; on a dark wall, pale frames and mounts create contrast. A picture light above the arrangement, or small spotlights, brings out the colours after dark. Avoid spots where a lamp or window throws a harsh reflection across the glass; non-reflective glazing is worth the extra cost for the largest frames.
Common Picture Wall Mistakes To Avoid
- Hanging everything too high. The centre should sit at eye level, not near the ceiling.
- Uneven spacing. Varying gaps make a gallery wall look accidental. Pick one gap and repeat it everywhere.
- Too many small frames on a large wall. Small frames scattered across a big wall look lost. Add more pieces or use larger frames.
- No common thread. Frames, colours or subjects that share nothing will fight each other. Repeat one element throughout.
- Forgetting the furniture below. Centre the group over the sofa or sideboard beneath it.
- Drilling before planning. Hanging frames without a plan is how most extra holes happen. Plan first, then drill once.
ideas for the rest of the room once the wall is done
Frequently Asked Questions
How Many Pictures Do I Need For A Living Room Picture Wall?
Three to five frames suit a small wall or the space above an armchair, while six to nine fill the wall above a standard sofa. Aim for the arrangement to cover about two-thirds of the furniture’s width, and start with fewer pieces — you can always add more later.
What Is The Best Height For A Picture Wall In A Living Room?
Centre the whole arrangement at about 57 inches, or roughly 145 centimetres, from the floor — around average eye level. Above a sofa, leave about 15 to 25 centimetres between the sofa back and the bottom of the lowest frame.
How Far Apart Should Picture Frames Be On A Gallery Wall?
Leave about 5 to 8 centimetres between frames and keep the same gap throughout. For a tight grid of small prints you can go slightly closer; for large frames, slightly wider.
Can I Create A Picture Wall Without Drilling Holes?
Yes. Adhesive picture-hanging strips work for light to medium frames on suitable smooth walls, within the stated weight limit. Picture ledges let you lean frames against the wall, and large frames can be propped on a sideboard.
Do All The Frames On A Picture Wall Need To Match?
No, but the display needs at least one repeated element to look intentional. Matching frames are the simplest option, especially for a grid. For a mixed display, repeat the frame colour, the mount colour or a colour from the pictures.
Conclusion
A living room picture wall works when it is planned like a single piece of art rather than a collection of separate frames. Choose a wall you actually look at, pick a layout that fits the space, keep one element consistent across the frames, and hang the centre of the group at eye level with even gaps. Plan on the floor or with paper templates before you drill, and let the display grow slowly as you find pictures that mean something to you.
Leave a Reply